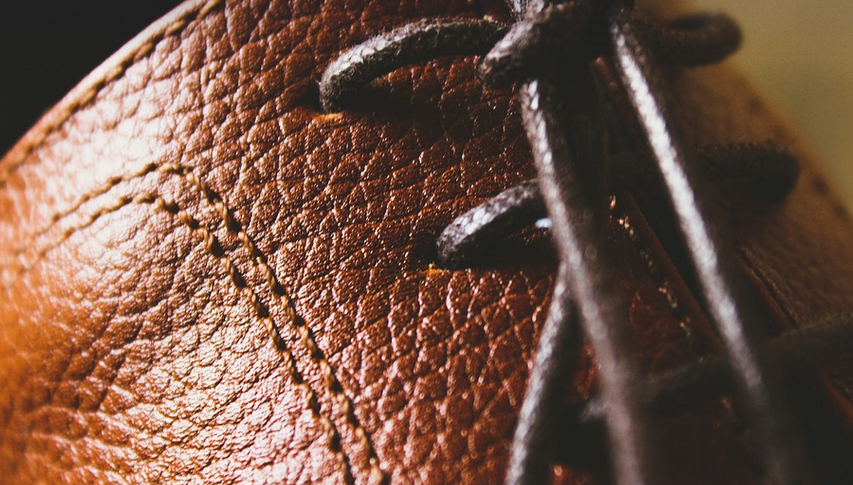
A Repair Kit for Every Occassion
We all love that feeling of sinking into a plush, soft leather sofa after a long day. It’s the epitome of comfort and style, isn’t it? But sometimes, life happens. Scratches appear from your morning coffee mug mishap, or maybe you got caught in a sudden downpour leaving your favorite leather backpack with water stains. Don’t worry! A little know-how and a handy repair kit can go a long way in restoring those beloved pieces to their former glory.
A dark brown leather repair kit is more than just a collection of potions and trinkets; it’s your secret weapon against the inevitable wear and tear that comes with owning high-quality leather items. It allows you to address minor imperfections, prevent bigger issues from arising, and even give your beloved belongings an extra touch of elegance.
The very essence of a good repair kit is its versatility. Think of it like a toolbox for your leather treasures. You need different tools depending on the wear pattern—a small scratch here, a slightly uneven seam there. A well-equipped kit should have every tool you might need to tackle these issues.
Let’s dive deeper into what makes a good dark brown leather repair kit so special. It typically includes a collection of materials and tools designed specifically for working with dark brown leather, which is often known for its rich hue and subtle grain patterns.
Unboxing Your Repair Kit: What to Expect
A decent dark brown leather repair kit typically comes in a compact box, filled with organized compartments. This allows you to easily locate the specific tools or materials you require for each task.
Here’s what you might find within a typical kit:
* **Color-Matching Topcoat:** This is often a crucial element of your kit! You need a top coat designed specifically for dark brown leather, ensuring an easy seamless blend with your existing surface. * **Leather Conditioner:** This acts as the vital lubricant for your leather repair journey—helping to soften the texture and restore elasticity. Regular use ensures your leather stays supple, resisting future damage from everyday wear and tear. * **Wax Cleaner:** A good wax cleaner is an essential tool in any leather-lover’s arsenal. It helps remove stubborn dirt, light scratches, and marks from your leather items while also adding a protective layer to the surface. * **Fine Sandpaper (various grades):** Sandpapers with varying grit levels help smooth out bumps, uneven lines, or minor imperfections. You can start with a coarser grit to remove larger debris before moving on to finer grits for a more polished finish. * **A small leather repair kit:** For smaller repairs, this will be your go-to solution.
DIY Repair: A Step-by-Step Guide
Let’s take a look at how you can utilize your dark brown leather repair kit to fix those unexpected imperfections.
**Step 1: Preparation is Key:** * **Gather Your Tools**: Before you begin, make sure you have all of the necessary tools and materials laid out in front of you. A clean work area with good lighting will help maximize your confidence as you tackle this project. * **Clean the Leather Surface** : Begin by gently cleaning the affected area using a soft cloth dampened with water or a specially designed leather cleaner. Gently scrub away dirt and grime. Once cleaned, let your leather surface dry completely before proceeding to the next step. **Step 2: Addressing Minor Scratches:** * **Sanding for Smoothing**: Start by lightly sand the scratch using fine grit sandpaper (around 150-200). This helps create an even surface and blend the color of your repair product better over time.
Use a circular motion and ensure you’re not sanding away too much material, as this can weaken the leather. If you’ve used a coarser grit on the scratch to remove larger debris before applying a topcoat, remember that finer grits are needed for smoothing out minor imperfections.
**Step 3: Applying the Color-Matching Top Coat:** * **Application is Key**: Use a soft cloth or sponge dipped in the color-matched top coat and apply it to your scratched area. Work in small, circular motions to ensure an even distribution of the product.
Be patient – this is where time plays the biggest role! Allow the topcoat to dry completely before you move on to other steps.
Maintenance: Keeping Your Dark Brown Leather Looking Its Best
A dark brown leather repair kit isn’t just about fixing damage; it’s also about preventative measures. Regular maintenance will help keep your leather items looking their best for years to come.
Here are some essential tips:
* **Conditioning is Key:** Apply a conditioner regularly—once every few months, or as needed during dry seasons—to maintain the flexibility and elasticity of your leather. * **Protection Is Essential:** Invest in a high-quality protectant spray to shield your leather from spills, scratches, and stains. This acts as a second line of defense against wear and tear. * **Regular Cleaning is Crucial:** Use a soft cloth lightly dampened with a specialized cleaner to wipe down your leather items periodically. Avoid using harsh chemicals or excessive water as it can cause damage over time.
The Power of Patience: Your Leather’s Secret Weapon
Remember, the key to truly mastering dark brown leather repair lies in patience and practice! As you become more familiar with the techniques involved, you’ll notice a distinct improvement in the quality and longevity of your favorite leather items.
Let me know what kind of leather repair project you’d like to tackle next!
